

Ribbons
Ribbons
RIBBON MAKING GUIDE!
Ribbon Guide
RIBBONS!
Badge ribbons are great! They are a load of fun to give away, a great way to customize your badge, and a nice way to add an extra bit of fun at the con. They also work well as an ice breaker to meet new people and interact with others!
Making the ribbons though has always been a scary process for those that have never done it before, and time consuming for those that know it. But fret not! This guide is going to offer you 3 ways to get your own custom ribbons! You can either use a ribbon making company, print your own transfers, or print them on a special paper that doesn’t require any transfer paper! Soon you too will be making your own ribbons to give out!
What are Badge Ribbons?
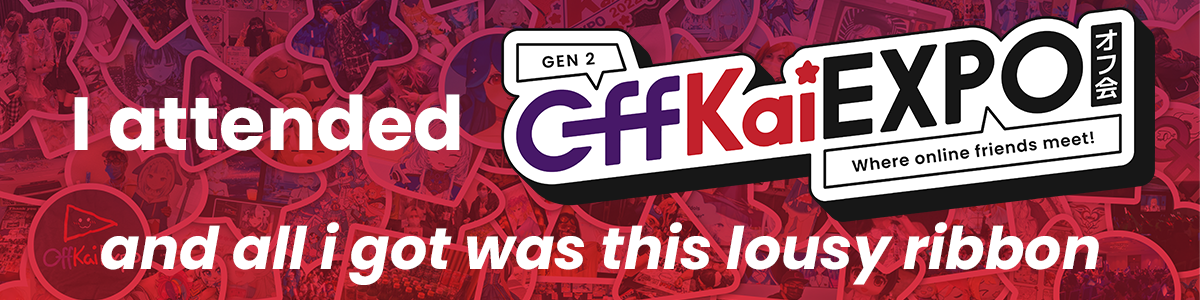
Badge ribbons are adhesive fabric ribbons that you stick onto your badge. Badge ribbons originate from the science fiction convention scene, but you can now see them making the rounds at a few anime cons. Ribbons usually have some funny meme or reference that you think yourself or others will find enjoyable or may want to collect!
Ribbon Challenge
Collect as many ribbons as you can over the course of the weekend! The attendee with the most ribbons attached to their badge at the end of the weekend will win a super cool prize!
Ribbon Gachapon
Want to test your luck? Try our gachapon and receive a random ribbon!
Ribbon donations will be rewarded with a special ribbon in exchange.
3 Methods to Making Badge Ribbons
So you want to make your own badge ribbons, but how do you do that? Badge Ribbons can either be ordered online or made by hand. Below you will find a guide on the three methods we recommend!
Ordering Online
Picking a vendor
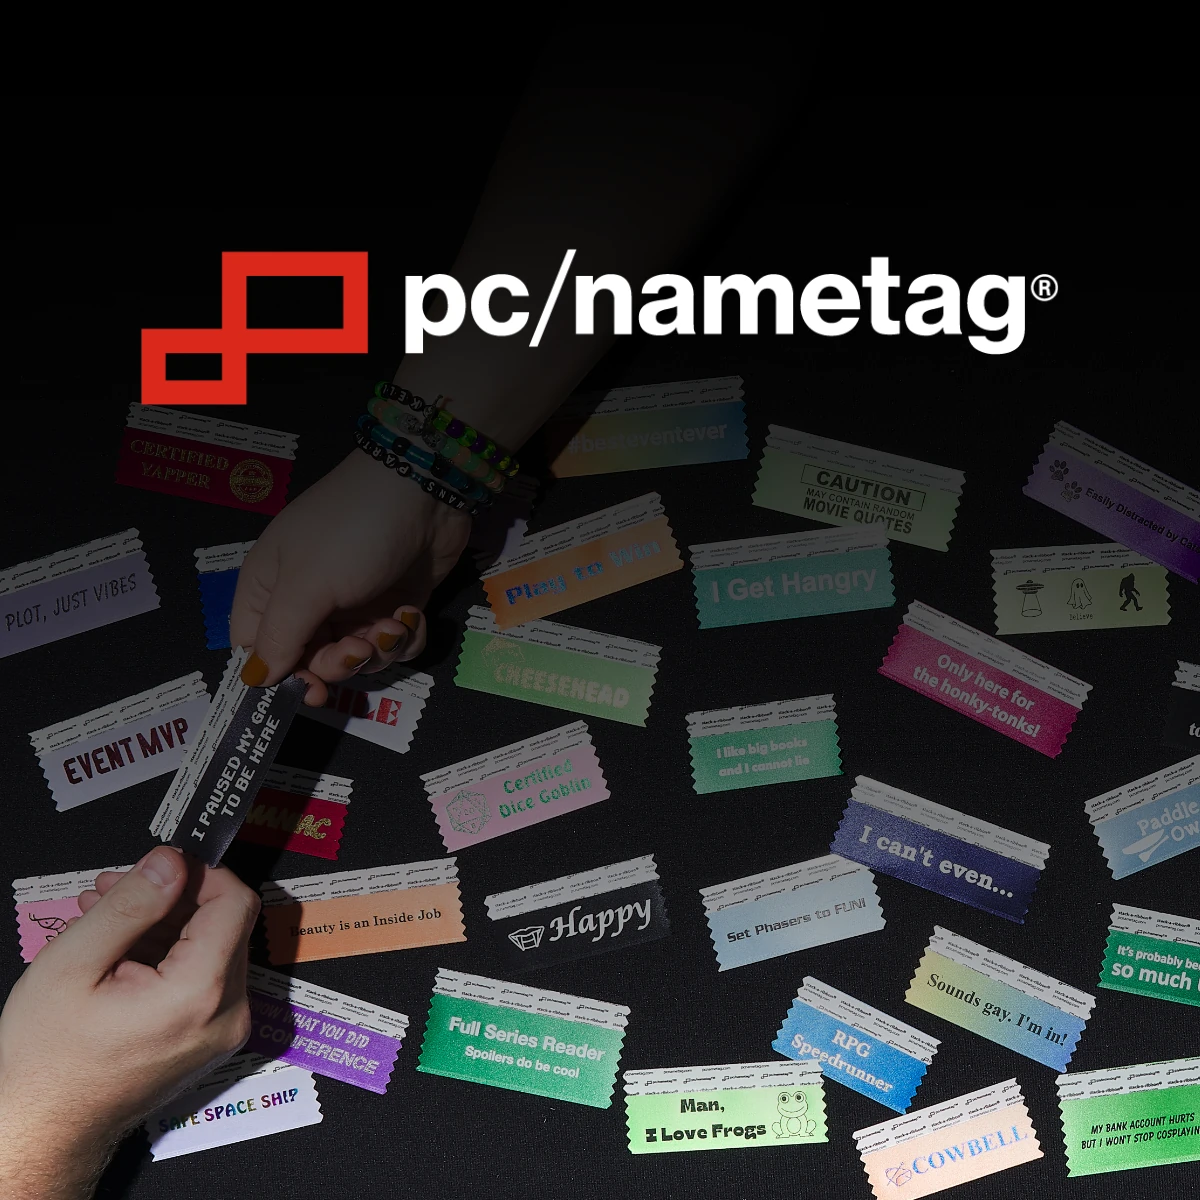
First thing you’ll need is to choose where to order your ribbons! This year OffKai is teaming up with pc/nametag to offer a discount on creating your ribbon order! Using code SPCON25 at checkout will offer a 10% discount on your ribbons. They offer both the traditional Foil ribbons as well as Printed Full Art Sublimation!
There are other companies that can provide ribbons as well, with the most common alternatives being Ribbons Galore and Marco Promos. Each vendor has pros and cons about styles, shipping, colors available, and even full art options. We have a comparison guide you can use right here:
*Up to date for Gen4!*
Click here to see the comparison guide in one table
Foil Ribbon Comparison Table
| PC/Nametag | Ribbons Galore | Marco Promos | |
|---|---|---|---|
| Ribbon Type | Foil | Foil | Foil |
| # of Ribbon Colors | 40 | 38 (Some Colors @ Extra $) | 39 |
| # of Foil Colors | 17 | 9 (Some Colors @ Extra $) | 13 |
| Color Guide | Link | Link | Link |
| Multi-Colored Ribbons | 2 Color Foil and Full Color @ Extra $ & Deliver Time | Not Available | 2 Color Foil and Full Color @ Extra $ |
| Production Time | 4-5 Business Days | 7 Business Days | 8 Business Days |
| Shipping Cost | (Free Ground Shipping Promo) | $8.95 | $10.99 |
| New Design Set-Up Fee | No Set-Up Fees | No Set-Up Fees | $14 |
| Price Calculation | By Individual Design (each design has a cost per each ribbon) | By Individual Design (each design has a cost per each ribbon) | By Total Ribbons Ordered (Due to setup cost, you pay for how many ribbons total made) |
| 4" x 1-5/8" | |||
| $ for 50 Ribbons (each) | $0.88 | $0.84 | - |
| $ for 100 Ribbons (each) | $0.43 | $0.43 | $0.29 |
| $ for 250 Ribbons (each) | $0.35 | $0.36 | $0.25 |
| $ for 500 Ribbons (each) | $0.26 | $0.24 | $0.22 |
| $ for 1000 Ribbons (each) | $0.21 | $0.21 | $0.18 |
| 4" x 2" | |||
| $ for 50 Ribbons (each) | $0.88 | $0.94 | - |
| $ for 100 Ribbons (each) | $0.43 | $0.48 | $0.34 |
| $ for 250 Ribbons (each) | $0.35 | $0.39 | $0.30 |
| $ for 500 Ribbons (each) | $0.26 | $0.28 | $0.26 |
| $ for 1000 Ribbons (each) | $0.21 | $0.23 | $0.22 |
Full Art Sublimation Ribbon Comparison Table
| PC/Nametag | Ribbons Galore | Marco Promos | |
|---|---|---|---|
| Ribbon Type | Full Art Sublimation | No Full Art Sublimation Option | Full Art Sublimation |
| # of Ribbon Colors | N/A | N/A | |
| # of Foil Colors | No Foil Options | No Foil Options | |
| Color Guide | Full Color Printing | Full Color Printing | |
| Multi-Colored Ribbons | Full Color Printing | Full Color Printing | |
| Production Time | 6-7 Business Days | 20 Business Days | |
| Shipping Cost | (Free Ground Shipping Promo) | Varies by Amount | |
| New Design Set-Up Fee | No Set-Up Fees | $20 | |
| Price Calculation | By Individual Design (each design has a cost per each ribbon) | By Total Ribbons Ordered (Due to setup cost, you pay for how many ribbons total made) | |
| 4" x 1-5/8" | |||
| $ for 50 Ribbons (each) | $1.56 | - | |
| $ for 100 Ribbons (each) | $0.88 | - | |
| $ for 250 Ribbons (each) | $0.78 | - | |
| $ for 500 Ribbons (each) | $0.68 | - | |
| $ for 1000 Ribbons (each) | $0.57 | - | |
| 4" x 2" | |||
| $ for 50 Ribbons (each) | $1.56 | - | |
| $ for 100 Ribbons (each) | $0.88 | $0.76 | |
| $ for 250 Ribbons (each) | $0.78 | $0.75 | |
| $ for 500 Ribbons (each) | $0.68 | $0.65 | |
| $ for 1000 Ribbons (each) | $0.57 | $0.57 | |
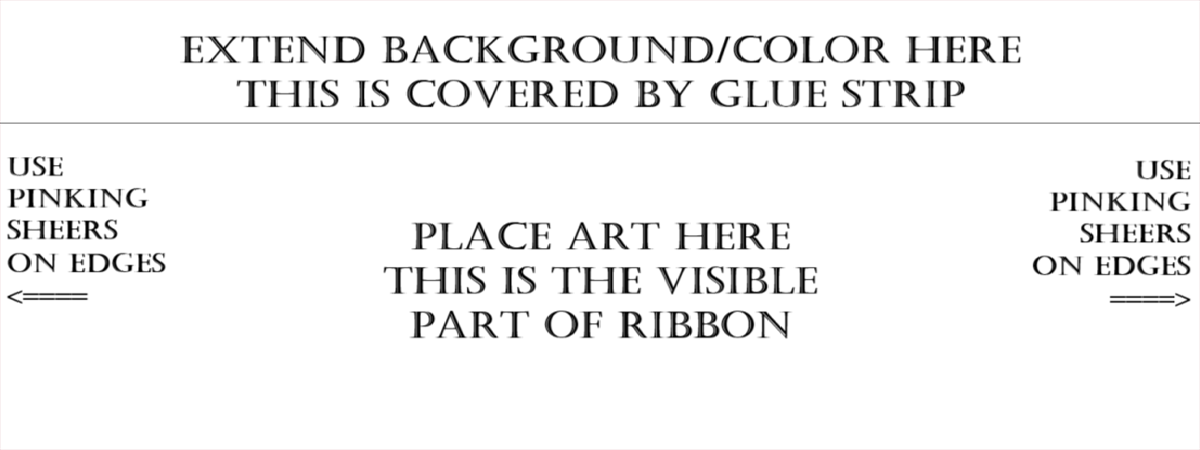
Preparing artwork
Once you have picked your vendor, you’ll need to prepare your artwork! It is generally recommended to prepare your artwork outside of any vendor-provided customizer as it is much easier to create exactly what you want in a program like Photoshop or any other image editor/drawing tool. Please refer to the imprint area size that your vendor lists for the size of ribbon you are looking to make.
The most typical imprint sizes are:
3.4” x .9” (for 4 x 1-⅝” ribbons), or 1020px x 270px @ 300dpi
3.4” x 1.2” (for 4” x 2” ribbons), or 1020px x 360px @ 300dpi
Once you know the imprint size for your ribbon, you’ll want to make a canvas in your editing software for the same size as the imprint area. If you are making a ribbon with a single foil color, you’ll want to make the artwork black and white so as to best visualize how it will look on the ribbon (see below for example)
Once you have your art ready, you are ready to order!
Making at Home: Transfer Paper Method
Supplies needed
You will need the following supplies to get started on making transfer paper ribbons:
- InkJet Printer
- Clothes Iron
- Ribbon (1 ½” height recommended)
- T-Shirt Transfer Paper (for light fabric
- recommended)
- Fray Check
- Pinking Shears
- Fabric Shears/Scissors
- Double Sided Permanent Fabric Tape
You can find the amazon list with all the supplies that we used to create these samples (minus the printer and Fabric shears) here! Depending on when/where you buy your supplies, the costs for these supplies should be roughly $30-50.
Setting up your design
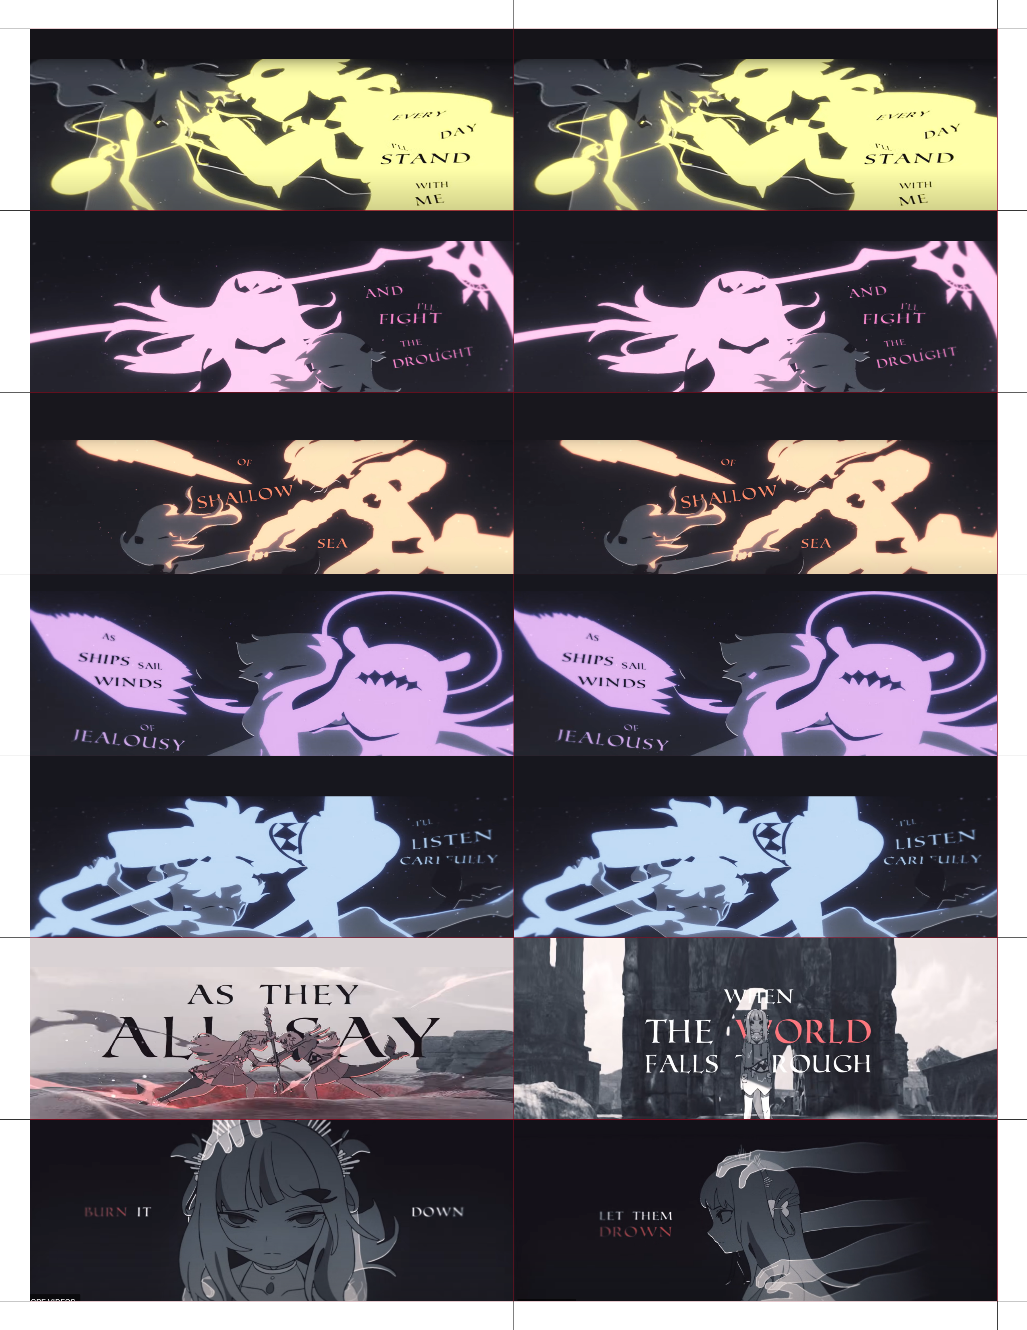
Step one will be to prepare your artwork. If using the same size of ribbon, you’ll want to make your design 1” x 4” in size. Since these are not foil colors, you can make your design as colorful as you want!
Once you have your design ready, you’ll want to put as many as possible on a letter size canvas.
It is very important to double check with the instructions provided on your transfer paper as most will require that you mirror your design!
Once you’re ready, go and send it to print!
Once you have your art ready, you are ready to order!
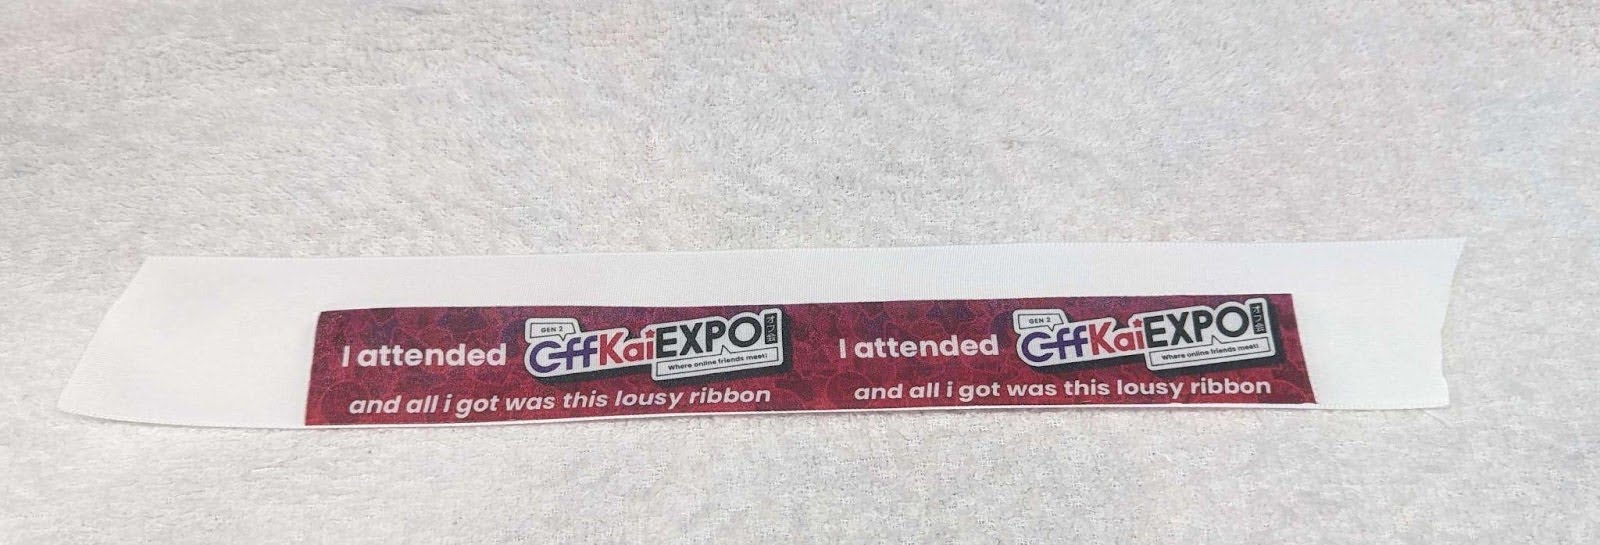
Making the ribbons!
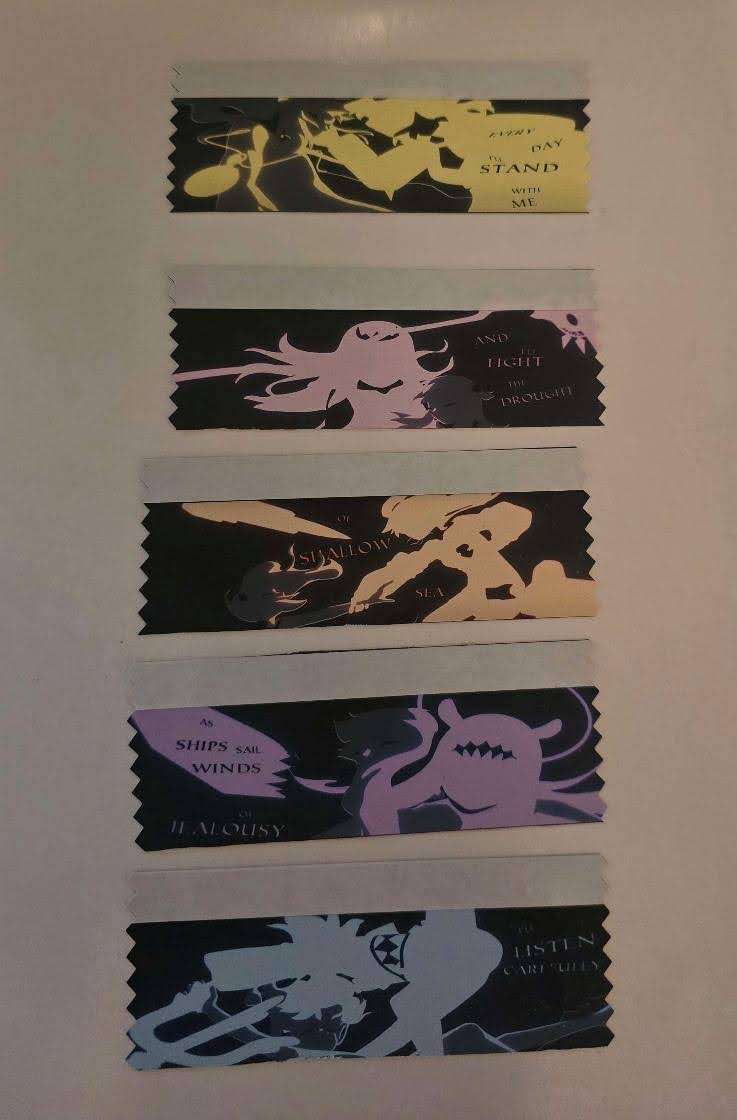
Once you have finished printing your design on the transfer paper, you will need to cut the design out. I found it easiest to cut the design in strips of 2.
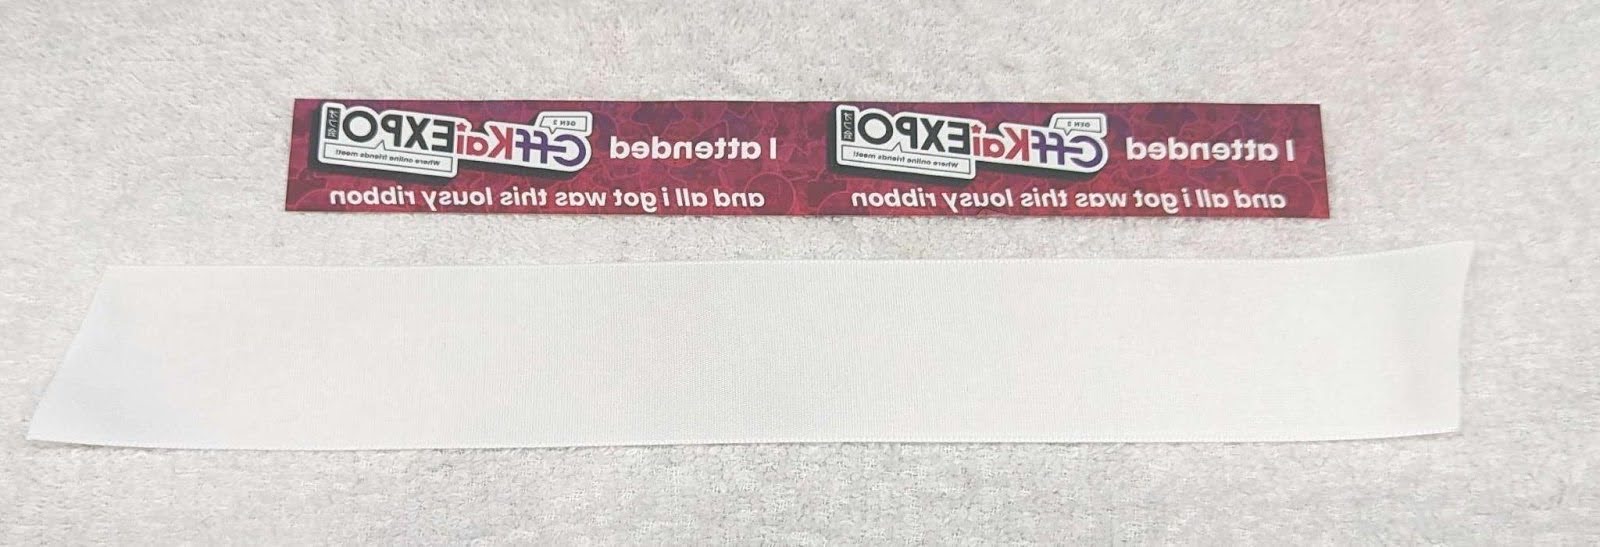
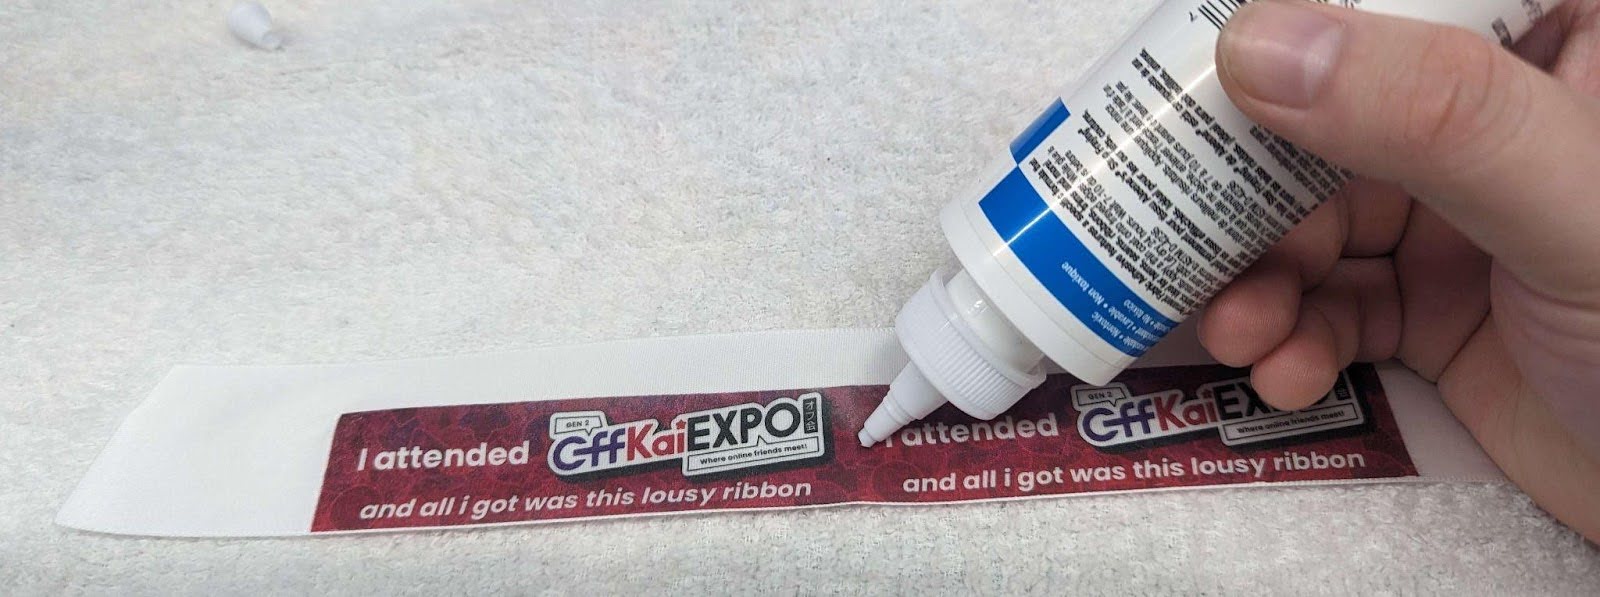
Follow the instructions on your transfer paper on recommended settings for applying heat using the clothes iron to transfer the design onto the ribbon. Be careful of not applying heat for too long as this can cause the ribbon to slightly melt, but also make sure you have used enough heat to fully transfer the design. If the ribbon isn’t sticking well, use more heat/apply longer.
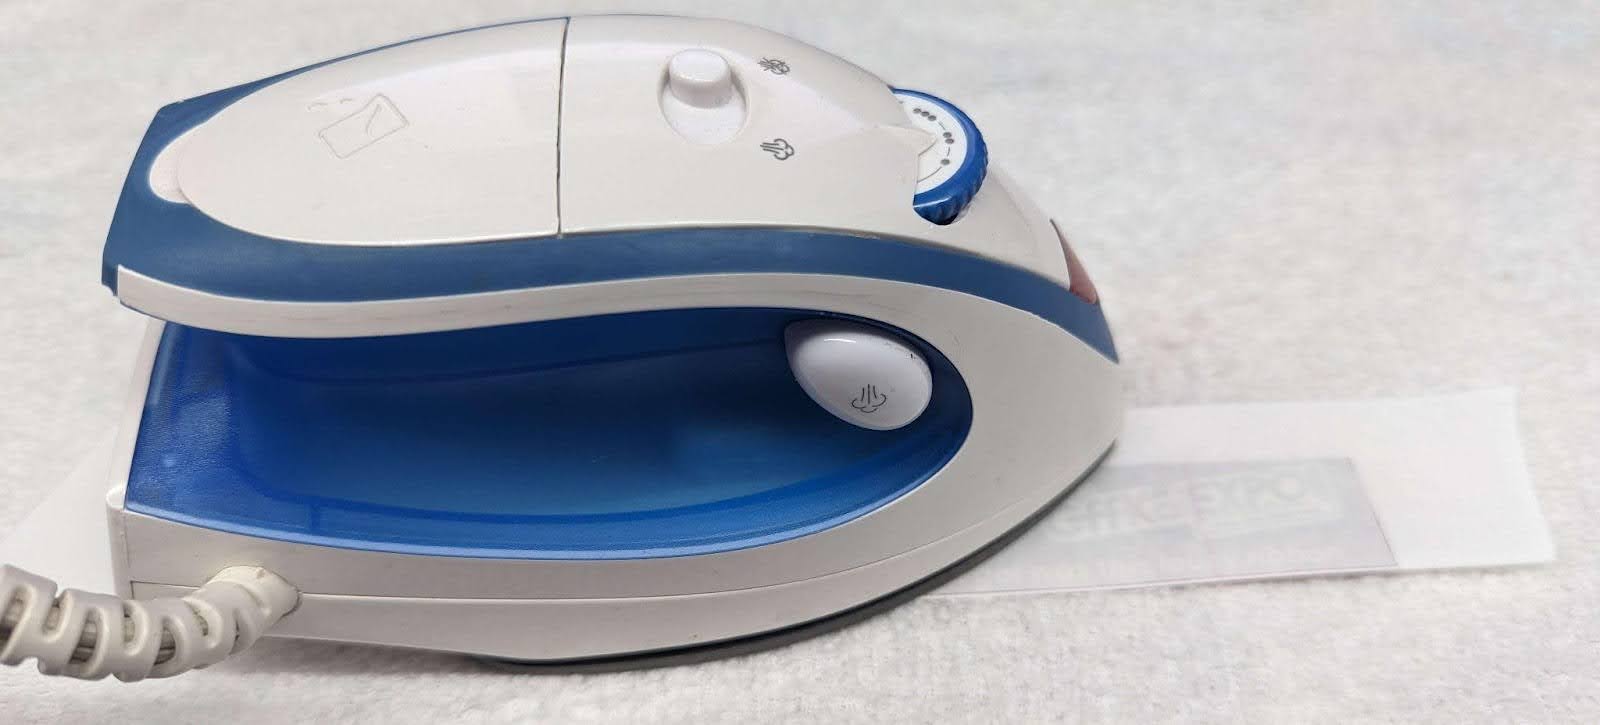
This is how it should look like after you lift up the transfer paper
Once you are done transferring your design to the ribbon, use the fray block on where you plan to cut the ribbon. If the front of the ribbon is covered completely by the transfer, use the fray block on the back so that it touches the ribbon fabric. Please read the instructions on your fray block for how long it will need to dry. Not using fray block will cause the ribbon to fray a lot or will cause the ribbon to fall apart faster over time, and no one wants a ruined ribbon.
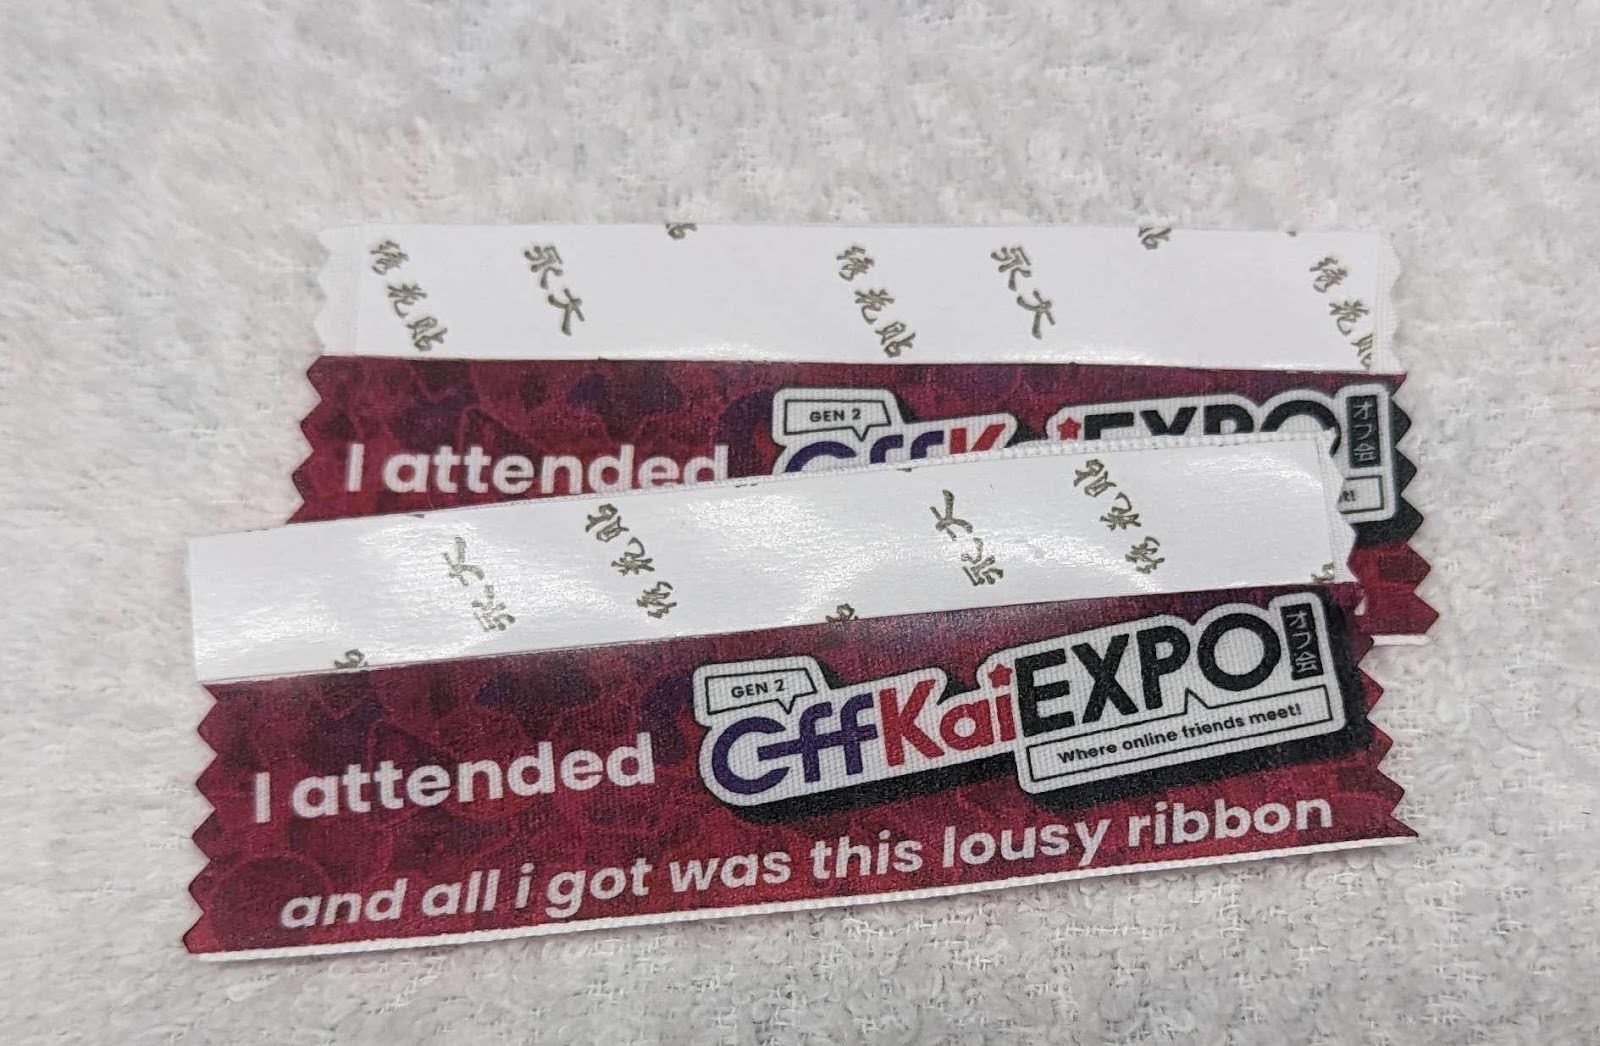
Once the fray block is dry, use your pinking shears to cut the ribbon into your individual badge ribbons!
The last step is to cut your double sided tape to size (roughly 3.8” in length) and apply one side to the ribbon!
And there you have it! Your very own fabric ribbons! But there is an easier method to making ribbons if your ok with using a slightly different material, and that’s Canvas Ribbons!
Other Making at Home Method: Canvas Ribbons
Supplies needed
You will need the following supplies to get started on making transfer paper ribbons:
- InkJet Printer
- Canvas Paper (Link Below)
- Pinking Shears
- Regular Shears
- Fabric Scissors &/or Paper Cutter
- Double Sided Permanent Fabric Tape
Most of the materials used in the iron on transfer aren’t required for Canvas ribbons. The main thing is the different paper and needing a paper cutter and fabric scissors. The Canvas paper used in this example can be found here on amazon:
https://www.amazon.com/PPD-Inkjet-Canvas-Printable-PPD083-10/dp/B07FK1T417
Setting up your design
Step one will be to prepare your artwork. You still want the design to be 1” x 4”, but you have to extend the background an extra 0.5” for where the double sided glue tape goes. (@ 300dpi that’s 300px x 1200px design, with 150px extra on top for the tape for 1.5” x 4”)
Once you have your design ready, you want to take that design and fit as many copies of it onto one sheet of paper to maximize the amount of ribbons printed at a time. Make sure to keep a space between the edge of the sheet and your ribbons though, since each printer has different margins allowed
Since you are printing on canvas paper, you don’t have to mirror the images like you do with transfer paper.
Make sure that you have some way to tell between when a ribbon ends and the next begins. I used a single pixel line of red as a border around each ribbon so that I knew where my cut lines were.
Once you’re ready, go and send it to print!
Making the ribbons!
Once you have finished printing your design on the canvas paper, you need to start cutting the ribbons out. I recommend cutting the ribbons into strips of 2 at a time, that way the edges are easier to clean up straight. Using a paper cutter or rotary cutter should help with doing the long cuts, and the fabric scissors helps with cleaning up the edges. Once you have cut all 4 sides of the ribbons cleanly you want to attach the double sided tape to the top, then use the pinking sheers to cut the left and right edges.
And that’s it! Canvas ribbons are much faster and easier to make then transfer paper ones and still let you do any colors you want!